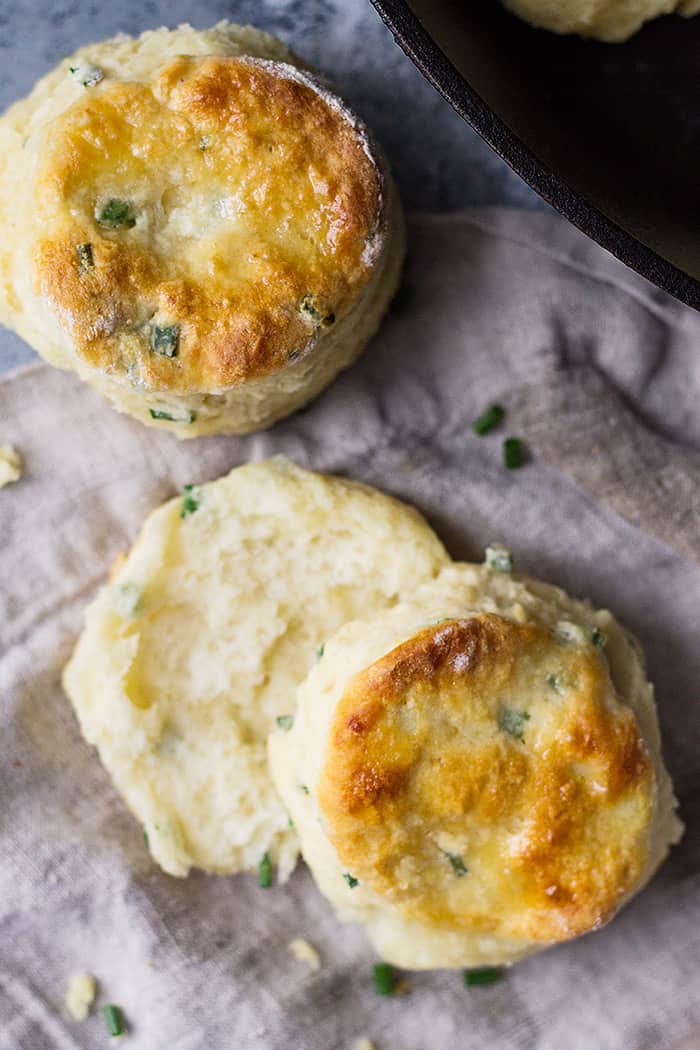
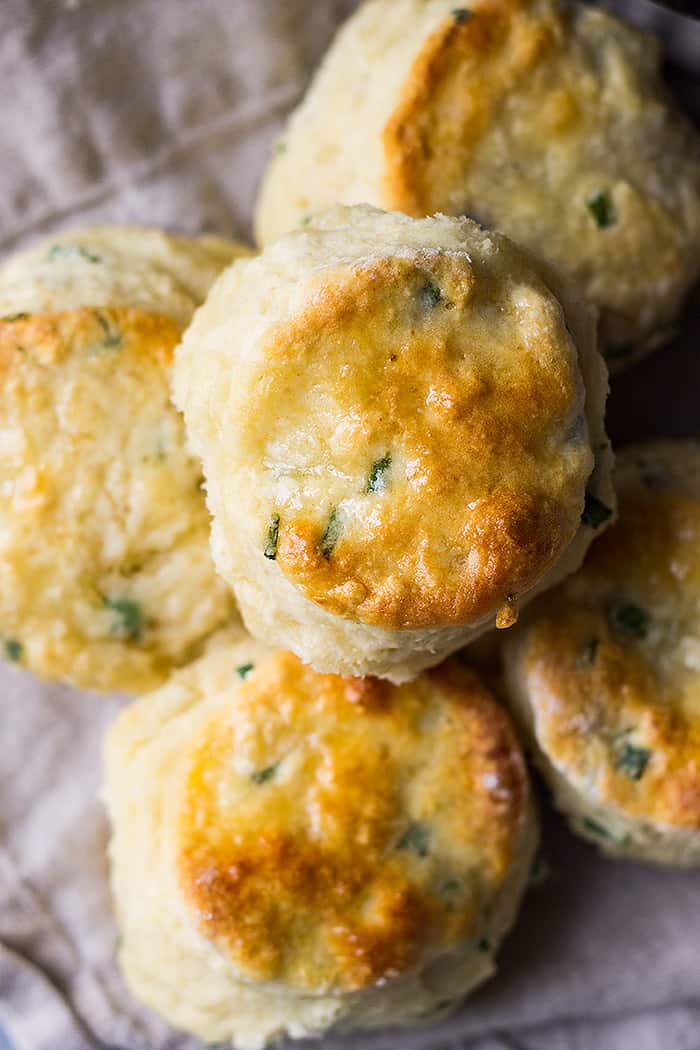
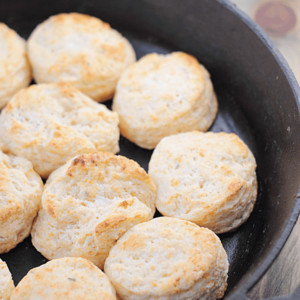
These Buttermilk Chive Biscuits are extra special and easy to make! They are soft, tall, buttery and go great with breakfast or dinner!
Buttermilk Chive Biscuits
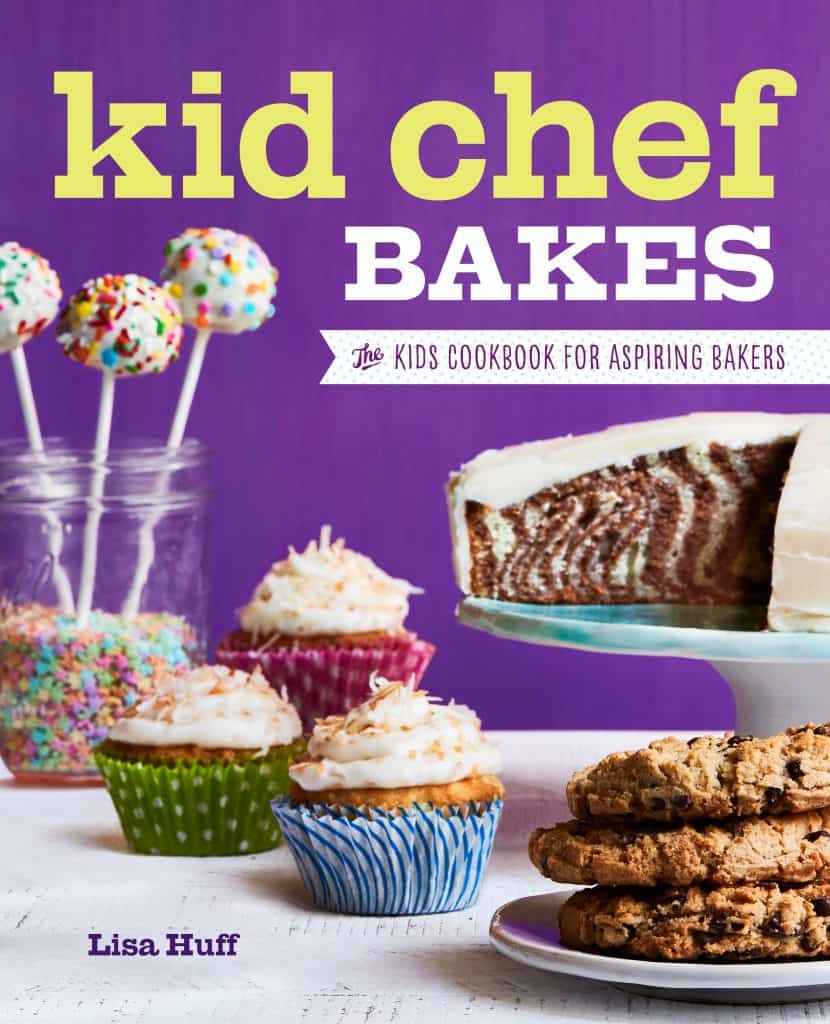
I have a special treat for you guys today!! These buttermilk chive biscuits are soooo good and they are from the new cookbook Kid Chef Bakes by Lisa Huff from Snappy Gourmet. Her brand new cookbook comes out later this month and if you have some young kiddos chomping at the bit to bake this cookbook is for you! I have a couple of girls that will absolutely love this cookbook and I can’t wait to share it with them!!!
Some things I really like about this cookbook is the beginning section to help you introduce your young baker into the kitchen. There are even some lessons to get them started! There are over 75 delicious looking recipes in the cookbook and my girls are having a hard time choosing which one to make next. And be sure to enter the giveaway below to have a chance to win a cookbook for yourself! **GIVEAWAY IS NOW CLOSED**
We chose these buttermilk chive biscuits because well, bread is our love language. And with the cooler weather, we are craving ALL THE CARBS! I still had some chives in my little garden by the house so these were perfect.
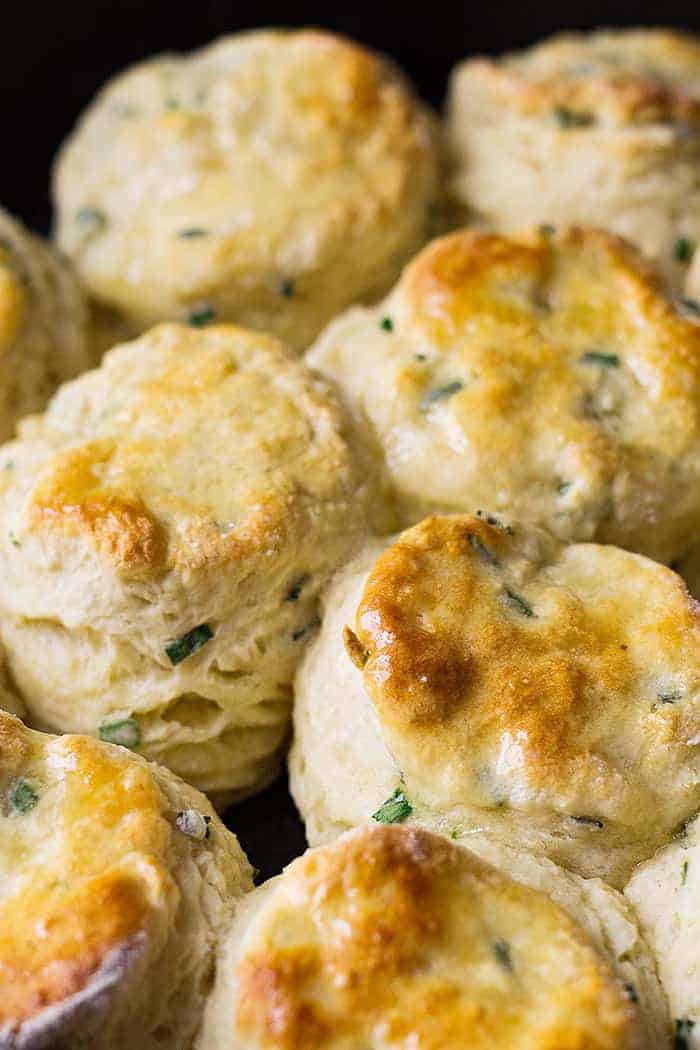
These biscuits are tall, soft, buttery and extra special. They are perfect for breakfast and dinner. They would be awesome used for breakfast sandwiches, biscuits and sausage gravy, or just as a side for this Slow Cooker Pot Roast, or this One Pot Italian Sausage Pasta.
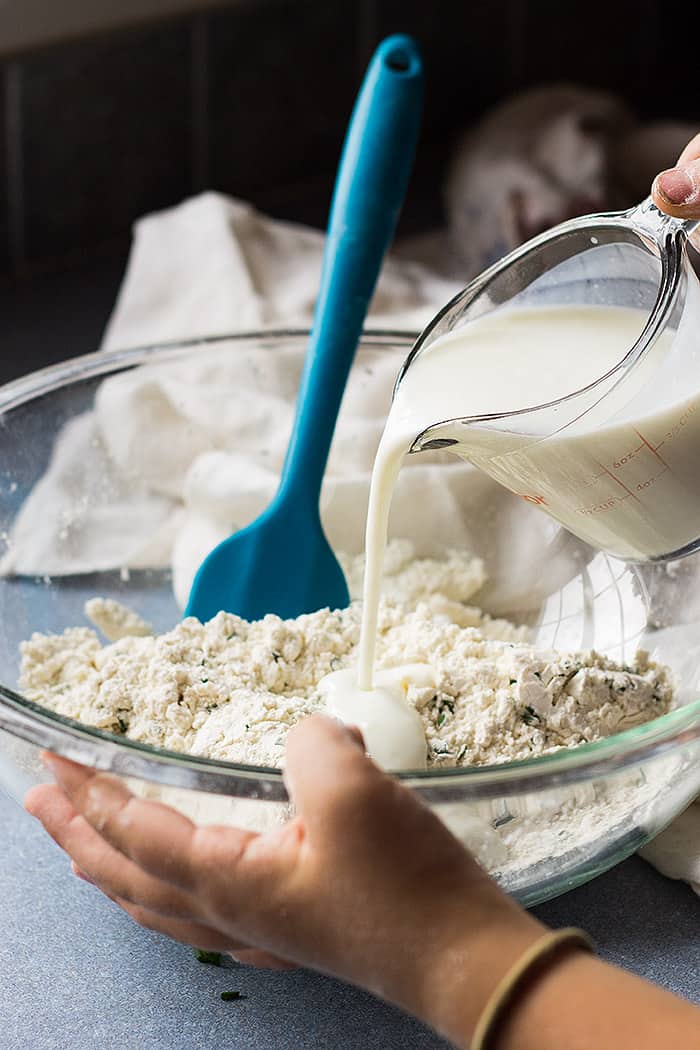
So a little about these buttermilk chive biscuits:
- To have flaky biscuits make sure your butter and buttermilk are cold. This is very important! As the biscuit bakes the pieces of butter will melt and release steam. This will make small pockets of air in the biscuit and thus flaky layers.
- I love using buttermilk to make biscuits because it keeps the biscuit tender.
- Another way to keep your biscuits tender is to use a light hand and not overwork the dough. Otherwise, they will be dense and hard.
- You can use just your hands to flatten out the dough, no rolling pin needed!
- Use a biscuit cutter and not a glass to cut your biscuits. A biscuit cutter makes a clean cut and also DO NOT twist the cutter. This seals the edges and prevents the biscuits from rising nice and tall.
If you haven’t made homemade biscuits before I encourage you to give it a try. As I have mentioned they are super easy and my kids love making them! So, don’t reach for that store bought can of biscuits and try these out next time instead!
Watch our video on how to make buttermilk chive biscuits:

Buttermilk Chive Biscuits
Ingredients
- Butter for greasing the pan
- 2 3/4 plus 2 tablespoons all purpose flour
- 4 1/2 teaspoons baking powder
- 1 teaspoon salt
- 6 tablespoons cold cubed unsalted butter
- 1/2 cup chopped fresh chives
- 1 -1 1/2 cups cold buttermilk
- Flour for the work surface
- 3 tablespoons melted butter
Instructions
- Preheat oven to 425 degrees F. Grease a cast iron pan with butter, set aside.
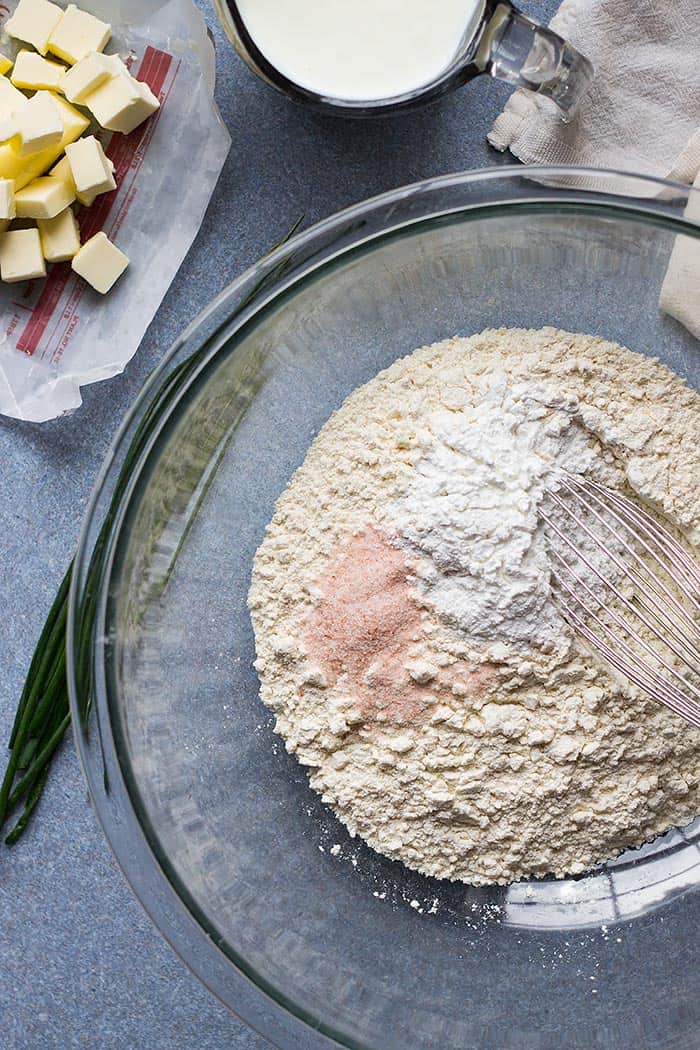
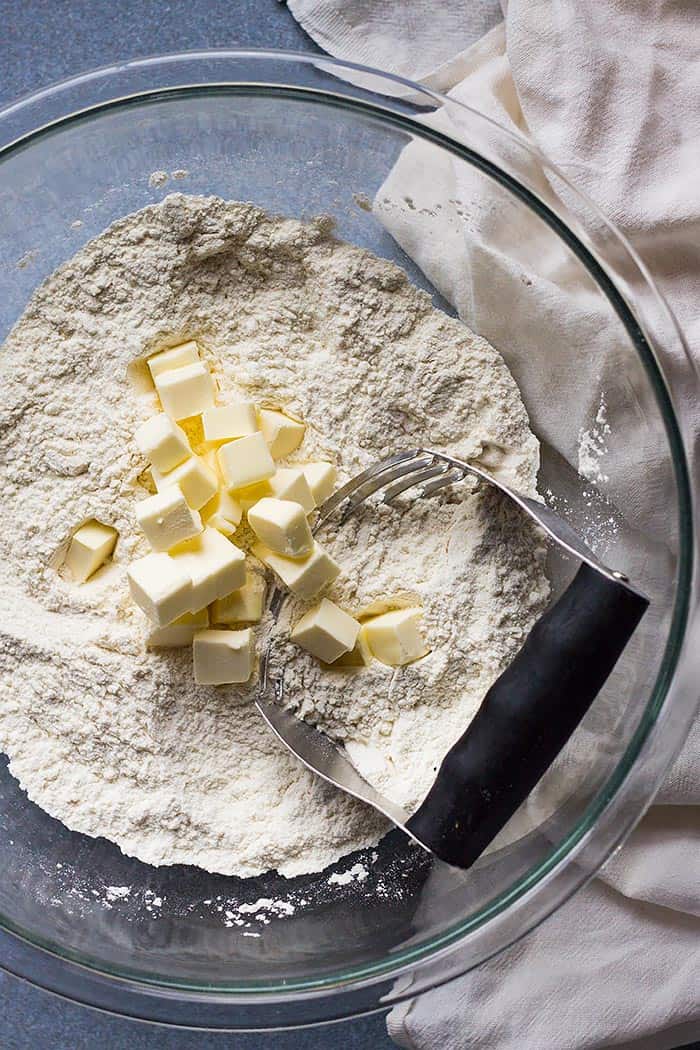
- In a large bowl mix together the flour, baking powder and salt until combined. With a pastry cutter or back of a fork, cut in the 6 tablespoons of cold butter, until the mixture resembles coarse crumbs. Stir in the chives. Add in the 1 cup of buttermilk and stir to combine. Add in a little more buttermilk if mixture is too dry. Be careful not to overwork.
- Place dough on a lightly floured work surface. Gently press or roll the dough until 1 inch thick. With a 2 inch biscuit cutter, cut out biscuits. Do not twist cutter in dough.
- Place biscuits in prepared pan next to each other. Bake for 17-20 minutes our until golden. Brush the biscuits with the melted butter.
Notes
- To have flaky biscuits make sure your butter and buttermilk are cold. This is very important! As the biscuit bakes the pieces of butter will melt and release steam. This will make small pockets of air in the biscuit and thus flaky layers.
- Another way to keep your biscuits tender is to use a light hand and not overwork the dough. Otherwise, they will be dense and hard.
- You can use just your hands to flatten out the dough, no rolling pin needed!
- Use a biscuit cutter and not a glass to cut your biscuits. A biscuit cutter makes a clean cut and also DO NOT twist the cutter. This seals the edges and prevents the biscuits from rising nice and tall.
- Instead of chives, try adding in chopped cooked bacon, shredded cheese or even chopped cooked onion.
- Baked biscuits can be frozen for up to 3 months. Just thaw and reheat a little. Biscuits dough rounds can also be frozen wrapped tightly in plastic wrap for up to 3 months. Thaw before cooking.
- Excerpted with permission from Kid Chef Bakes by Lisa Huff.
**THIS GIVEAWAY IS NOW CLOSED**




Oh no, looks like my previous comment didn’t go through!! Thank you so much for making the biscuits and reviewing my book!!
No problem! And you are very welcome, it was my pleasure!! 🙂
Can I use a muffin pan? I need 50 for a fund raiser. And they look delicious. I need 50 individual items or side dishes and cupcakes are already done.
I haven’t tried baking them in a muffin pan but I don’t see why not. You could also use a regular baking sheet to bake them. You can space them about an inch apart or place them on the pan with their sides touching (this helps to make taller biscuits). I hope that helps!
Malinda, the photography on these is just WOW! Serious cravings here. Pinned..
Thank you so much, Valentina!! And thank you for the pin!
Oooh yum! I love soft, fluffy biscuits! I’m going to have to give these a try!
Me too!! They are a weakness of mine! 🙂
I love versatile recipes! Breakfast or dinner – what could be better. These look amazing!
Oh me too!! Thanks Danielle!!
These are so tender and flakey! I love that you get in the kitchen with your kids. Creates so many precious memories!
Thank you very much Julie!! 🙂
Yum! These biscuits look so perfectly flaky and delicious! Thank-you for sharing the recipe, Malinda! 🙂
Thank you Deb! They are a great back pocket recipe!!