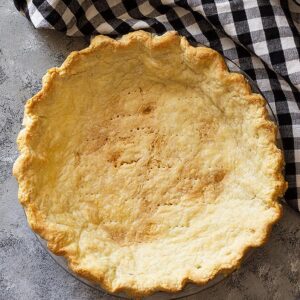
This All Butter Flaky Pie Crust recipe is easy to make and uses simple ingredients. It produces an easy to roll dough that bakes into beautiful flaky layers!
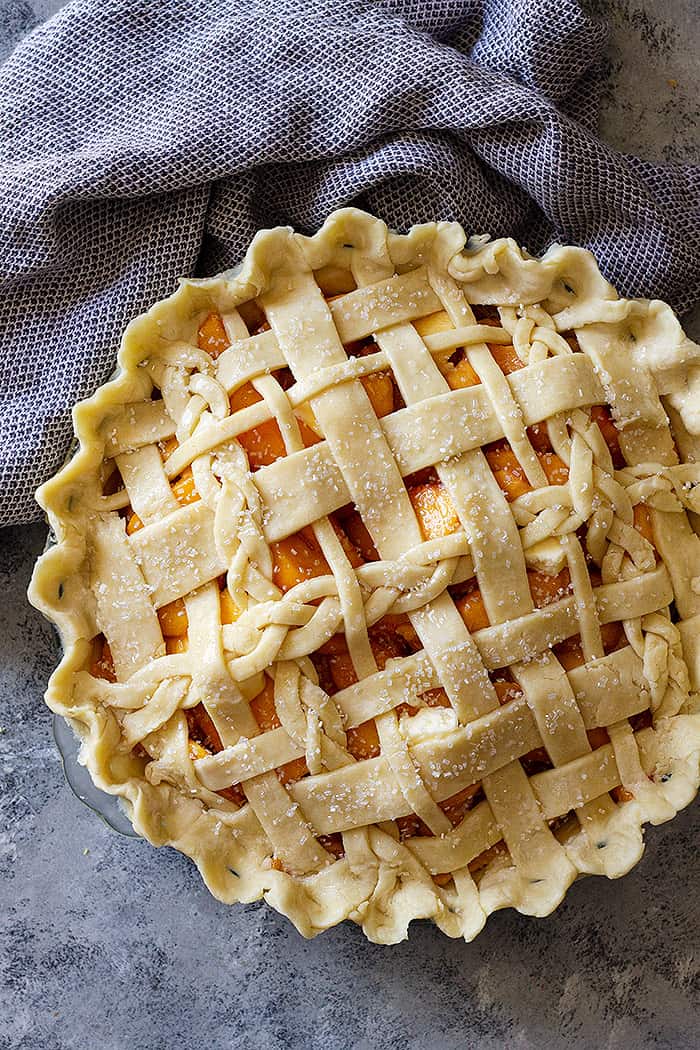
All Butter Pie Crust
Fall pie season is here. Peach, apple, pumpkin, pecan, and any other fall-ish pie you can think of. I’ll be honest, it has taken me quite a while to get pie dough right.
It can be difficult to get an all butter pie crust to turn out right, trust me I know and so does my family!
But I have learned a few things over the years and want to share them with all of you.
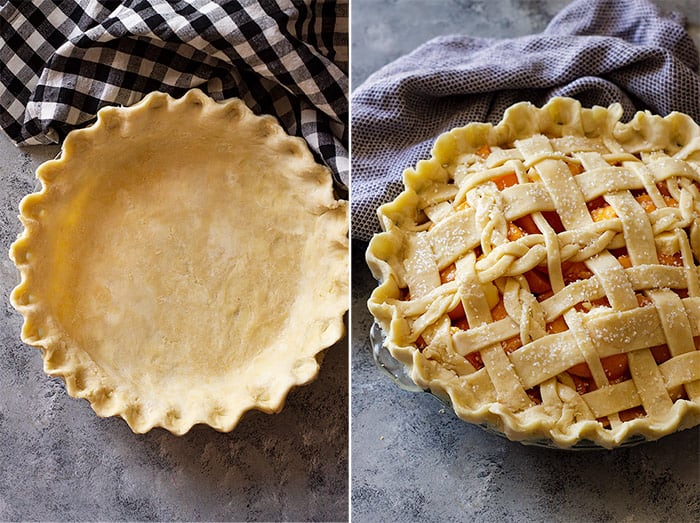
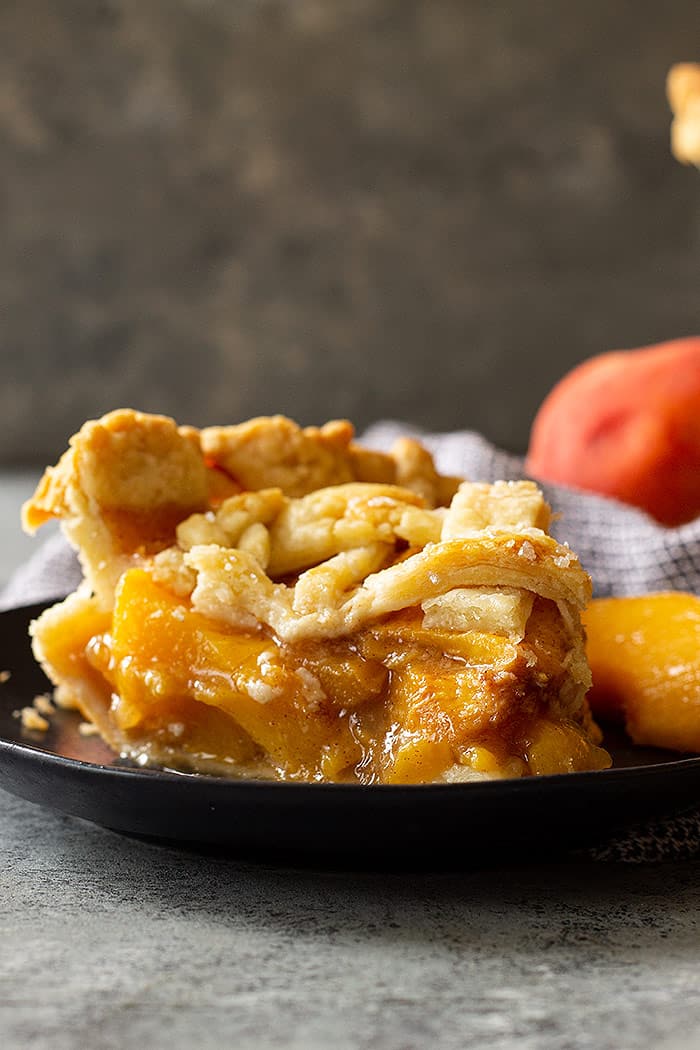
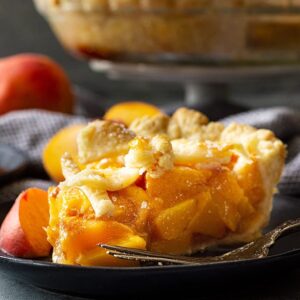
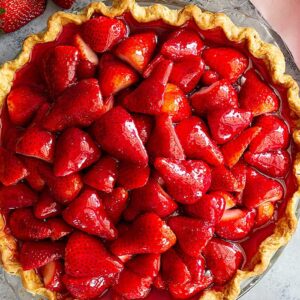
This pie crust is great for making all kinds of pies from savory to sweet! Use it to make your next pot pie or try it with this peach pie. Also, check out this post on how to blind bake pie crust.
Butter vs Shortening
So I am going to tell you why I prefer an all butter pie crust versus a butter shortening or lard combo. THE TASTE! Oh, and it’s flakier. (All that butter gives a wonderful flavor to an otherwise boring crust.)
And the reason it’s flakier is because butter has more water in it than shortening or lard. So when it bakes the water evaporates and creates nice flaky layers.
Yes, a pie dough made with shortening or lard is easier to work with but lacks in flavor to me. It can also have a greasy feel to it and I don’t care to eat pie that leaves a greasy texture in my mouth.
Really good lard is also really really hard to find. You don’t want to use the stuff from the grocery store. Trust me!
How to Make a Flaky Crust
- Cold ingredients! Cold butter and cold water are a must. Otherwise, the butter just melts into the flour and there will not be any flaky layers.
- I like to use a pastry cutter instead of a food processor. This way I can leave larger chunks of butter instead of them all being tiny pieces. Leaving a few larger chunks of butter creates nice pockets of butter and thus more layers when it bakes. So when combining the butter with the flour look for a variety of sizes in the butter chunks ranging anywhere from cornmeal to almond sizes.
- Mix lightly when combining. This is another reason I prefer the pastry cutter because I can get a better feel for the dough. Don’t overmix the dough. This melts the chunks of butter and makes the dough tough.
- Add the liquid slowly! The cold liquid needs to be added slowly because if too much liquid is added the pie crust will bake up tough. So in other words, if the recipe calls for 1/2 cup of ice water, don’t add all of it in at once but rather a few tablespoons at a time.
Step by Step on preparing the dough:
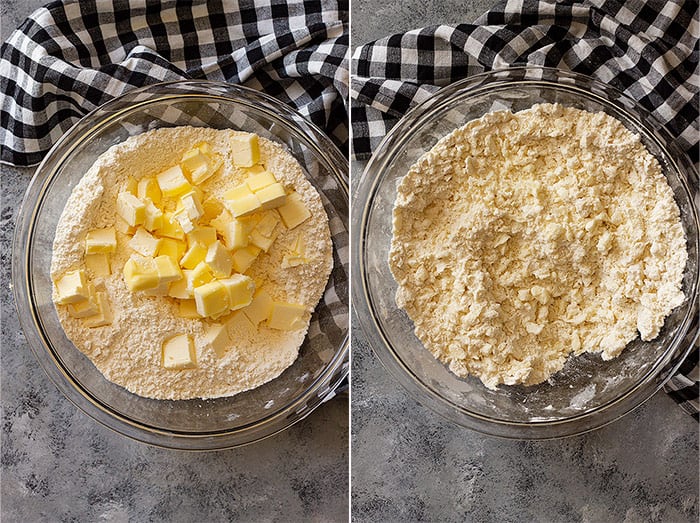
- Combine the dry ingredients in a large bowl. Cut the COLD butter into cubes. This helps speed up the process so don’t skip that step.
- Using a pastry blender cut the butter into the flour. I stop when the mixture has a cornmeal look, pea-size pieces of butter, and some almond size pieces of butter.
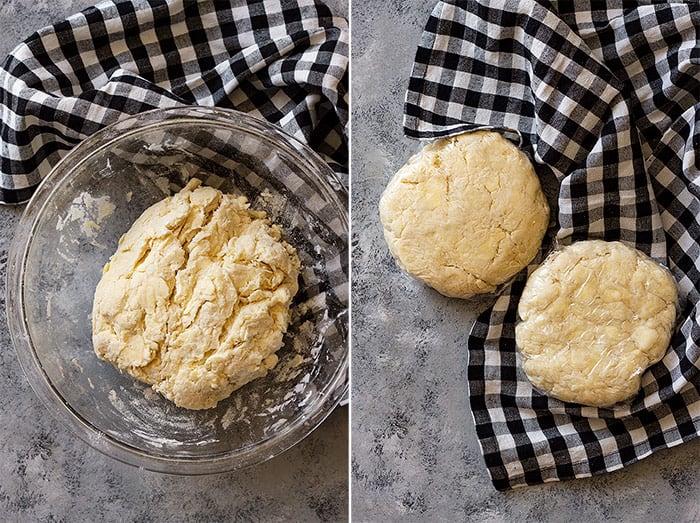
- Add liquid a couple tablespoons at a time. Drizzle it around the outside of the bowl and using a fork toss the damp flour towards the center of the bowl. Continue to do this until there are larger clumps of flour sticking together.
- Now test the dough by taking a handful and pressing it together. If it holds its shape and doesn’t crumble when you break it in half it has enough liquid. If it’s still really crumbly and falling apart add in a little more liquid.
- Form the dough into 2 disks and cover with plastic wrap. Chill in the refrigerator a minimum of 1 hour. If you leave them in the refrigerator for more than 1 hour let them sit on the counter for 10-15 minutes before rolling to make rolling a little easier.
- Before baking, chill the pie in the freezer for 5-10 minutes. This helps keep that butter cold and keep its shape while baking.
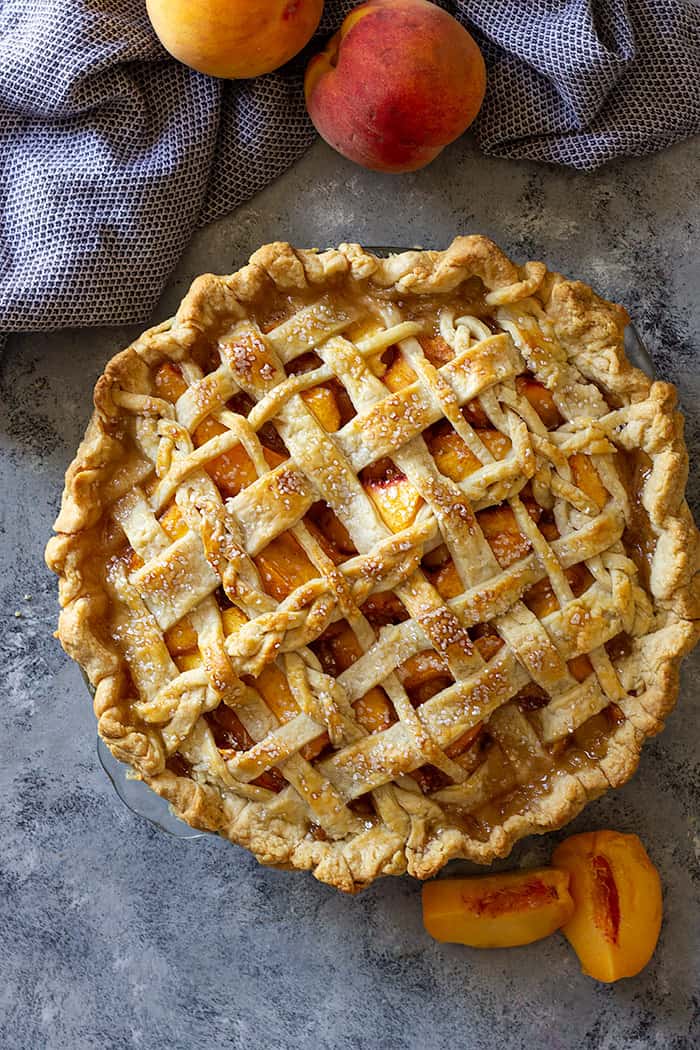
All Butter Pie Crust Tips:
- Just to say it again…..KEEP EVERYTHING COLD!
- Use a light hand when combining the liquid into the flour.
- Chill the dough before rolling and before baking.
- Use a glass pie dish. Glass conducts heat more evenly allowing the bottom of the crust to brown evenly.
- When rolling the dough roll from the center out then give the dough a quarter turn and do it again.
- If the edges are beginning to brown too quickly use a pie shield. I have only needed my pie shield a couple of times but I was sure glad I had one!
- And my most important tip is PRACTICE! I hate to say it but making good pies just takes practice.
HUNGRY FOR MORE? Subscribe to my newsletter and follow along on Pinterest, Facebook, and Instagram for all my latest updates!
All Butter Pie Crust
Ingredients
- 2½ cups (330g) all-purpose flour
- 1 teaspoon salt
- 1 cup (230g) unsalted butter, COLD and cut into cubes
- 1 tablespoon vinegar (white are apple cider)
- 6-10 tablespoons ice water
Instructions
- Mix the flour and salt together in a large bowl. Add the COLD cubed butter.
- With a pastry blender (cutter) cut the butter into the flour. Do this until you have a wide variety of chunks in the flour. Some should look like cornmeal, a large portion should look like the size of large peas, and some should be the size of almonds.
- Add the vinegar and ice water 1-2 tablespoons at a time. Drizzle it around the edge of the bowl and after each addition use a fork to toss the damp flour towards the center of the bowl. You have added enough water when the flour begins to make large clumps. You can also test by taking a large handful and squeeze into a ball. If it is too crumbly to make into a ball or falls apart when you break it in half you need to add more water.
- Divide the dough in half and shape each into a round disk. Cover each with plastic wrap and refrigerate for a minimum of 1 hour and up to 1 week.
- Lightly flour a work surface and place one dough disk on the floured surface. Starting at the center roll out to the edge and give the dough a slight turn and continue until the dough is around 1/8 to 1/4" thick. If your dough starts to crack don't worry. With a slightly damp finger join the cracks together.
- Fold the dough in half and in half again and place into pie plate. Unfold dough and ease it into the pan. Never stretch the dough. Continue with your pie per your recipe's directions.
Notes
- Can store tightly wrapped dough in the refrigerator for up to 1 week or freeze for up to 1 month.
- Please read the post for tips and tricks on making pie dough.
- Nutrition Facts: Since different brands of ingredients have different nutritional information, the information shown is just an estimate. Nutrition is for a single pie crust.

Hi. Just curious why you add vinegar to the water? My mother has always used milk in her Crisco crust.
Great question! Vinegar is sometimes added as a little extra protection against gluten forming when mixing the pie dough to help produce a tender crust.
Thanks for sharing this! I can’t wait to use this during the holiday season to whip up some delicious pies!
You are very welcome! I hope it helps!
Pie crust has always scared me, I usually go the pre-made route but this was easy and made the most delicious flaky crust! Thanks for helping me overcome my fears 😄
You are very welcome!! Pie crust used to scare me too but with a little practice, it’s pretty easy!
That crust looks amazing! And so does the final product! Yum!
Thank you very much!
How long do you bake the crust for?
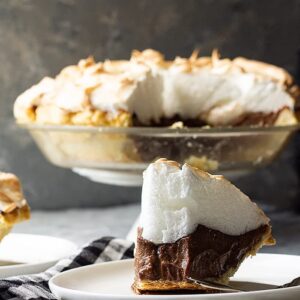
Refer to my How to Blind Bake a Pie Crust if you are needing it for the Chocolate Meringue Pie otherwise follow your directions for your pie recipe.