Homemade Soft Rice Krispie Treats
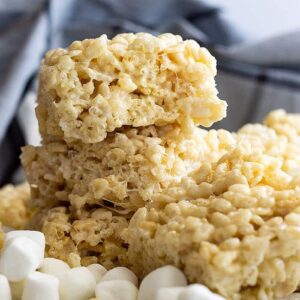
These Soft Rice Krispie Treats are tender, chewy, and taste so much better than store bought!! Filled with extra marshmallows and a splash of vanilla to make them extra special!
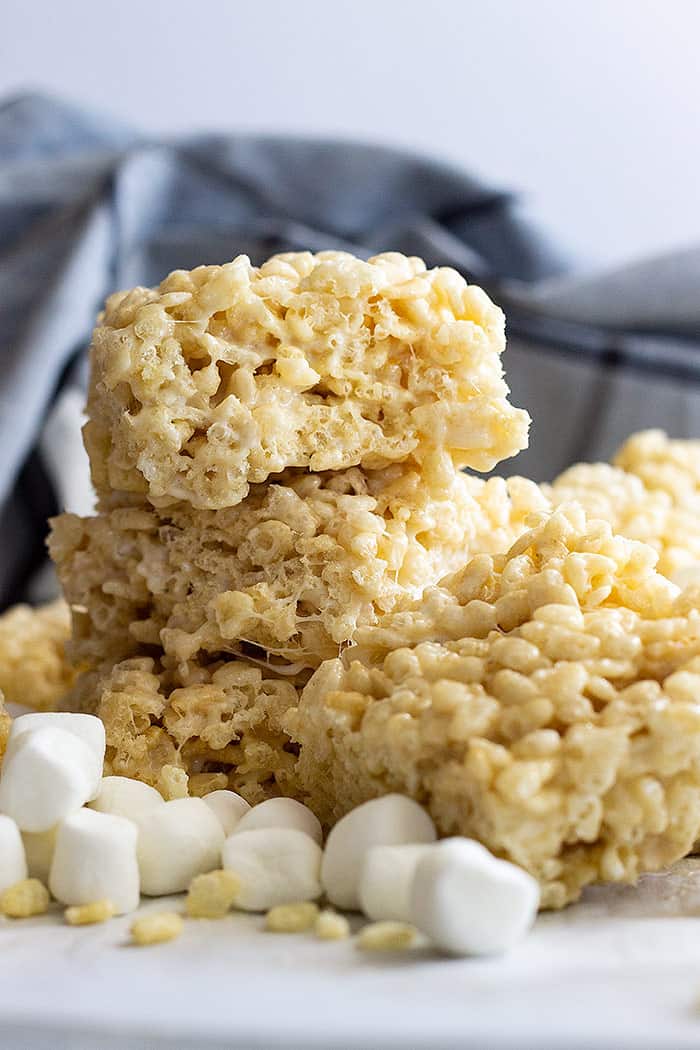
I know, I know, what’s the big deal about a big rice crispy treat recipe??? Well, this one happens to be my favorite, and I have changed it a little over the years, so it was time for an update.
A few other great treat recipes you should check out are No Bake Chocolate Peanut Butter Bars, S’more Cookie Bars, and Homemade Chewy Brownies.
Why You’ll Love Homemade Rice Krispie Treats
- Easy to follow steps
- Delicious every time
- Kid approved
- Only 15 minutes!
- Can be doubled
- Easy to add in extra goodies
Chewy Rice Krispie Treats Recipe
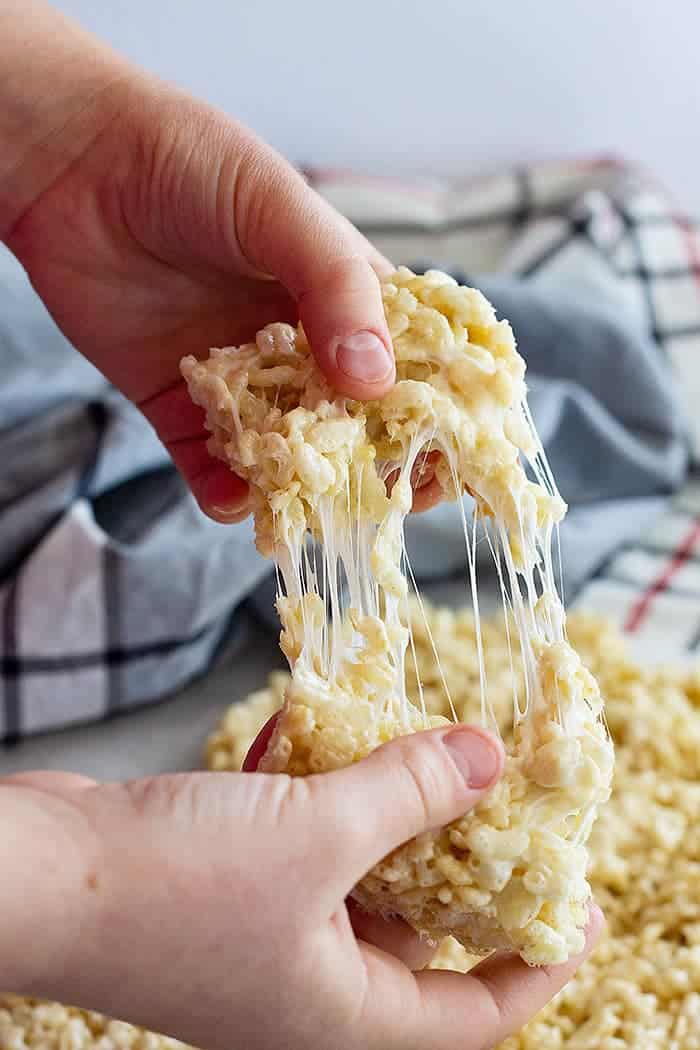
The perfect big rice crispy treat is soft and chewy. Not hard and hurting your mouth with every bite.
You know you’ve had one, and rock hard homemade rice krispie treats are a total letdown.
Most people take making soft rice krispie treats for granted and feel there is no possible way to mess up such an easy and basic recipe. Well, I’ve had some pretty bad treats in my time, so this post is a must!!
If you’ve never made homemade rice krispie treats before or maybe yours lacks just a little something, then be sure to save this recipe — it’s a keeper! People of all ages, both young and old, love a good chewy rice krispie treats recipe!
Ingredients
- Butter
- Marshmallows
- Crispy Rice Cereal
- Vanilla Extract
- Salt
How To Make Soft Rice Krispie Treats
Step 1: Prep the pan
Layer a baking pan with parchment paper or aluminum foil. Coat it with butter and set aside.
Step 2: Prepare the marshmallow mixture
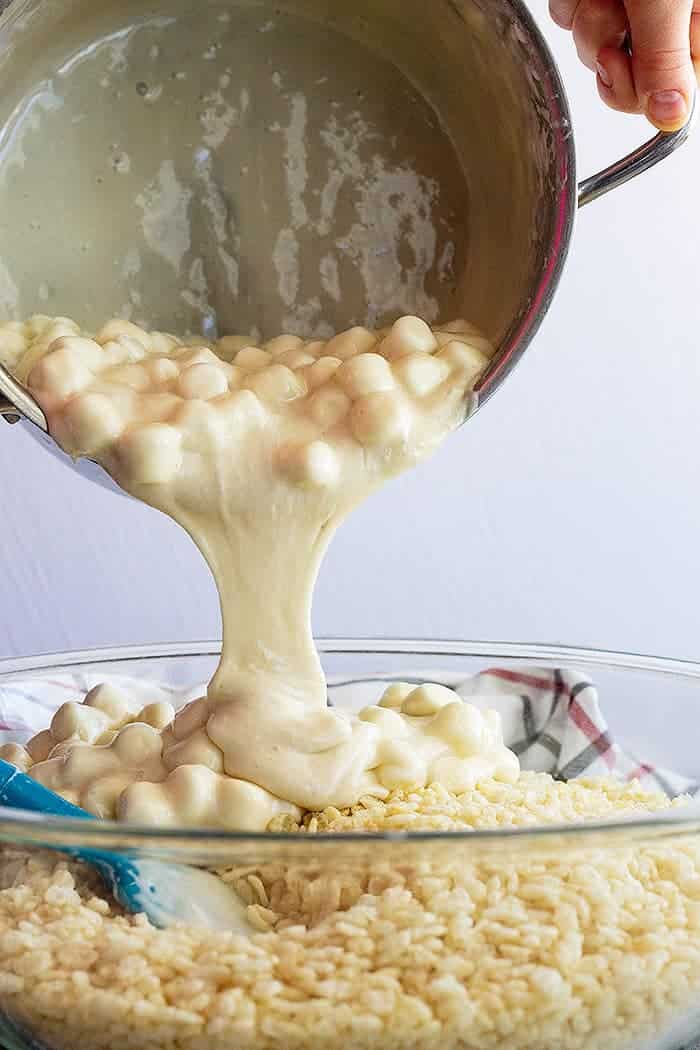
Add the butter to a large pot and begin melting over low heat. Pour in the marshmallows and stir constantly until mostly melted. Add the vanilla and salt.
Step 3: Add cereal
Mix in the cereal and stir well to ensure it’s all coated.
Step 4: Let cool
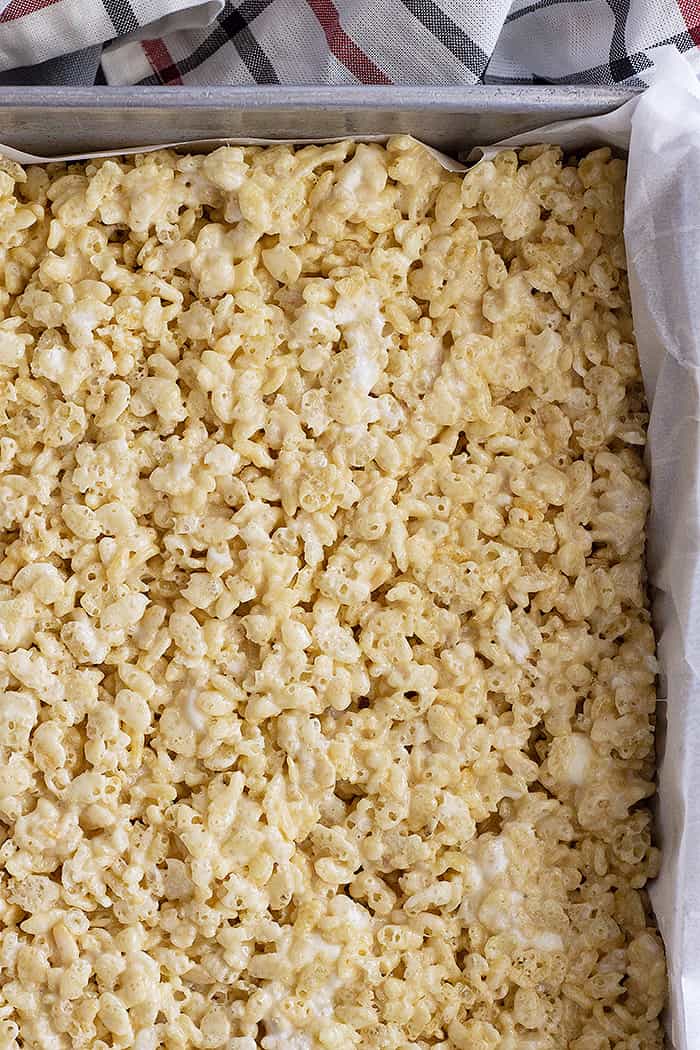
Pour the soft rice krispie treats mixture into the pan using buttered hands so it doesn’t stick to your fingers. Press into an even layer and let cool for 30 minutes. Cut and enjoy!
Frequently Asked Questions
You are using too high of heat when you are melting the marshmallows. Keep that heat on low and be patient. It really doesn’t take that much longer, and I promise you will have soft and chewy treats.
Your marshmallows are not fresh. Don’t use old mallows!! If you want the most out of this chewy rice krispie treats recipe, fresh marshmallows are where it’s at.
You are pressing the treats too hard into the pan. Press and smooth just until they hold their shape. If you are crushing the cereal, you are probably pressing way too hard.
You have to eat these gooey rice krispie treats quickly enough. These don’t stay fresh for more than a few days. And no, they do not need to be refrigerated!
Now, this is just a basic recipe so don’t be afraid to add in some extras like M&Ms, sprinkles, chocolate chips, cinnamon, or other candy.
Or maybe drizzle the top with a little melted chocolate!! YUM! So many possibilities!!
They will last 2-3 days, but they always taste best during the first day or so. They will begin to become stale and harden after a few days, so while they are still safe to eat, they will be missing the best texture and flavors.
More Crowd Pleasing Desserts:
HUNGRY FOR MORE? Subscribe to my newsletter and follow along on Pinterest, Facebook, and Instagram for all my latest updates!
Soft Rice Krispie Treats
Ingredients
- 8 tablespoons butter
- 2 (10oz)(283g) bags mini marshmallows
- 8 cups (240g) crispy rice cereal
- 2 teaspoons vanilla extract
- ¼-½ teaspoon salt (yes, salt. Just do it)
Instructions
- Line a 9×13 baking pan with foil or parchment paper. Coat with extra butter; set aside.
- In a large pot melt the 8 tablespoons butter over low heat. Stir in the marshmallows and continue stirring until most of the marshmallows are melted. (I like to leave plenty that aren’t fully melted for pockets of gooey marshmallow throughout the treats!)
- Remove from heat and stir in the vanilla and salt. Stir in the cereal until completely coated.
- Spoon into prepared pan and with well-buttered hands press into an even layer. Let cool at least 30 minutes before cutting.
Notes
- Use fresh marshmallows only.
- Please melt over low heat only!!
- Don’t pack the cereal too hard into the pan. If you are crushing the cereal you are pressing too hard.
- To use marshmallow fluff substitute almost 3 (7.5oz) jars for the mini marshmallows. Heat on low with the butter and proceed with the recipe.
- Store at room temperature for no more than 3 days or they will start to become hard and dry. Do not refrigerate.
- If you want bigger pockets of marshmallow in your treats, reserve 2 cups of the marshmallows and stir them in with the cereal.
- Nutrition Facts: Since different brands of ingredients have different nutritional information, the information shown is just an estimate.



If 1 bar is 1/12 of this recipe, the nutrition facts are inaccurate. I was shocked to see 600+ calories/serving, so i double checked and its actually between 2-300. I’m mentioning it because it almost sent me running for the hills, and I don’t want that to deter people from this recipe or your blog. 🙂
Thank you so much for bringing my attention to this! I double checked as well and yes, it was way off!!
What does the 11/2 10 oz mean???? I’m confused with what that amount is.
Sorry about that! When I changed things on the blog with the recipe card things got a little messy! It is 1.5 (10oz) bags of marshmallows. So 1 full bag and 1/2 of another. I am also going to be working on redoing this post in the near future so it’s easier to read and follow! Thanks for asking!!