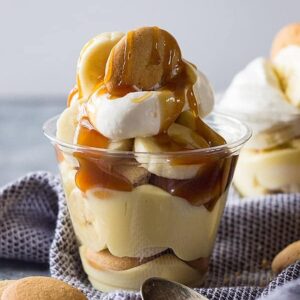
These Homemade Banana Pudding Cups are the ultimate parfait dessert! Delicious vanilla pudding made from scratch, then layered with sliced bananas, vanilla wafers, and freshly whipped cream. They’re an easy individual dessert that’s perfect for summer parties and holidays.
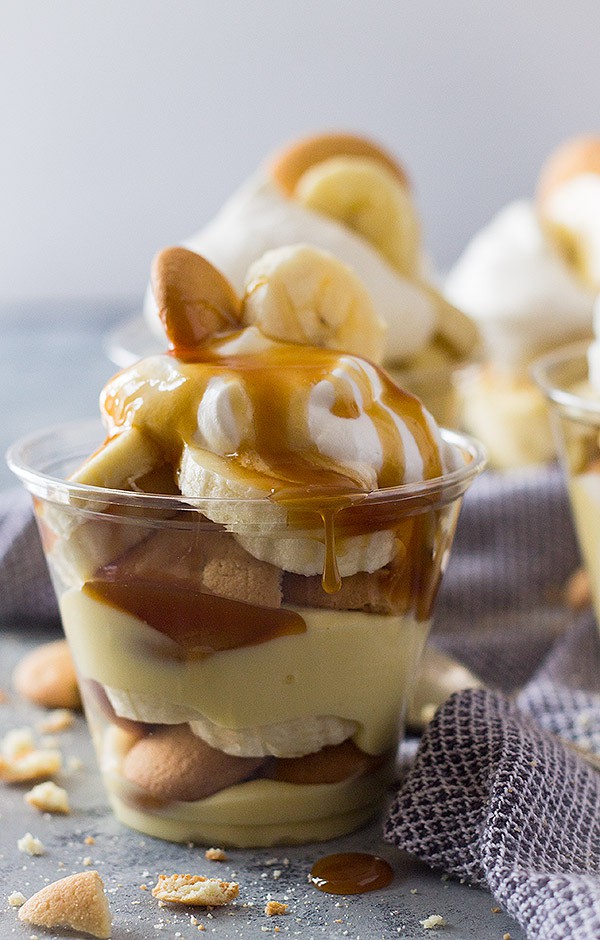
Homemade Banana Pudding Cups are one of those desserts that are so simple you would think it can’t possibly be that special. But think again! The individual components may not be fancy, but put it all together, and you get a crave-worthy dessert every time.
These mini banana pudding cups are absolutely a family favorite around here. They are made especially delicious with this Homemade Vanilla Pudding, which I promise is worth the extra effort. Plus, I serve them as individual vanilla wafer pudding cups, which my kids go crazy for!
Why you’ll love this homemade banana pudding cup recipe:
- The vanilla pudding is made from scratch and tastes SO much better than the package from the store. Sweet, creamy, and full of vanilla flavor!
- This recipe is actually very simple, even with the homemade pudding. It does require a bit of time for the pudding to chill but is easy enough for even a novice baker.
- Because they are served individually, these are the perfect grab-and-go desserts for a party. Make it all ahead, set it out, and let guests grab them as they please! This gives me a chance to enjoy the party, too, instead of slicing and dishing up at the counter.
- This vanilla wafer pudding cup recipe is filled with fresh bananas to give you an explosion of creamy flavor.
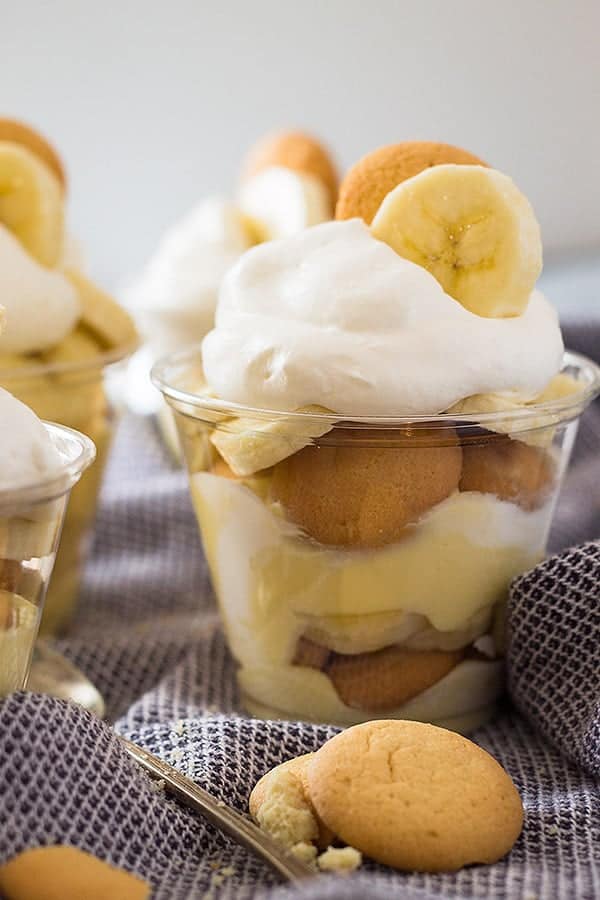
Ingredients for These Banana Cups:
Vanilla Pudding
- Sugar
- Cornstarch
- Salt
- Milk
- Heavy Whipping Cream
- Eggs
- Butter
- Vanilla
Whipped Cream
- Heavy Whipping Cream
- Powdered Sugar
- Vanilla
Extras
- Vanilla Wafer Cookies
- Bananas
How to make Homemade Banana Pudding Cups:
Step 1: Start the pudding
First, in a large saucepan, combine the sugar and cornstarch until smooth and there are no lumps. Stir in the milk and cream until well combined, then set aside. In a separate medium bowl, gently beat the eggs until combined and set aside.
Step 2: Cook the milk
Next, place the saucepan of milk and sugar on the stove and cook over medium to medium low heat. Whisk constantly while cooking to prevent any lumps. Continue cooking until it starts to thicken, then remove from heat.
Step 3: Add to eggs
Pour at least half of the hot milk mixture in a steady SMALL stream into the beaten yolks. While you are pouring, whisk constantly to prevent your yolks from scrambling. This process is called tempering. Once combined, pour the egg mixture back into the pan with the rest of the milk mixture.
Step 4: Finish cooking and chill
Return the pan to the heat and cook until it has thickened into a nice pudding-like consistency. It will continue to thicken a little more as it cools. Remove from heat and stir in butter and vanilla. Then cover with plastic wrap, making sure the plastic touches the pudding, and refrigerate for 1 hour.
Step 5: Make whipped cream
In a large bowl or the bowl of a stand mixer, beat the whipping cream, powdered sugar, and vanilla until stiff peaks form. Store in the refrigerator until ready to use, or make just before serving.
Step 6: Assemble banana pudding cups
Put a small amount of pudding in each cup. Then put a layer of vanilla wafers, bananas, and pudding. Repeat 1 more time. Cover and refrigerate for at least 2 hours, but best if overnight. Just before serving, top with whipped cream and decorate as desired. Serve the mini banana pudding cups and enjoy!
Tips for making mini banana pudding cups:
- Make sure to follow the pudding instructions very carefully to get a smooth, not lumpy, pudding. For extra tips, read my Homemade Vanilla Pudding post.
- Let these chill for a minimum of 2 hours after assembling, but consider chilling them overnight. The flavors meld, and the cookies have the perfect texture when they refrigerate those few extra hours.
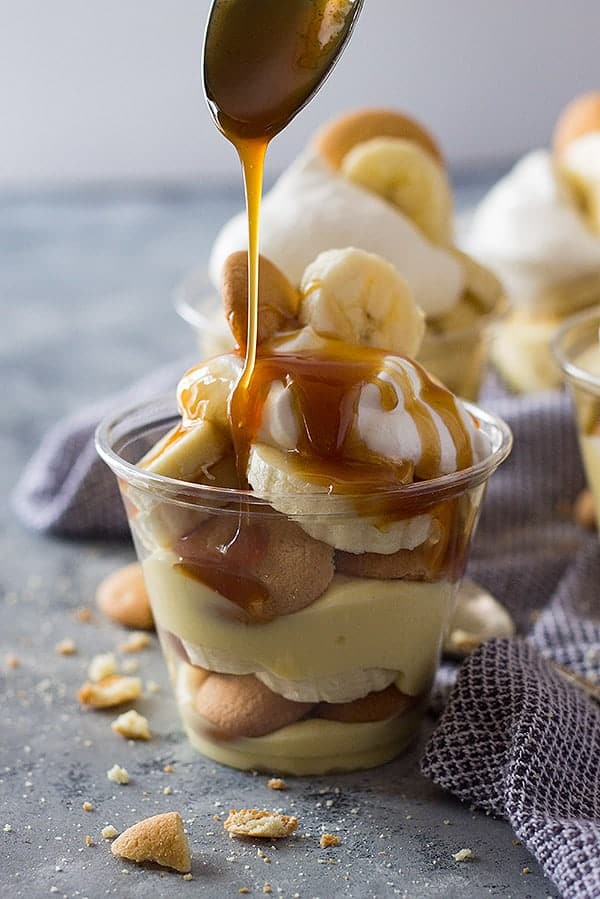
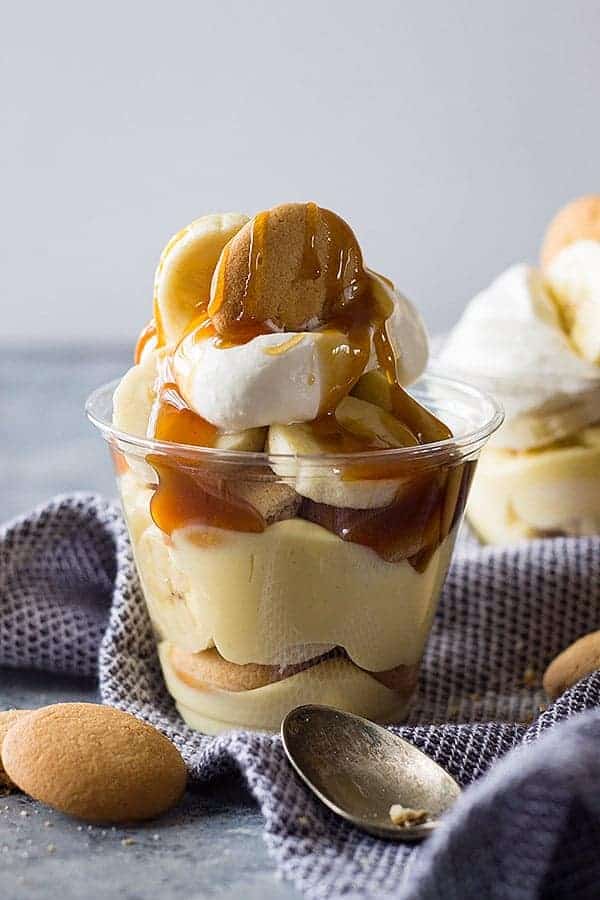
- You can decorate these however you choose! Use bananas and wafers (as shown in the pictures), crushed wafers sprinkled on top, a drizzle of caramel (so good!!!), or just whipped cream. They will taste great no matter what!
FAQs:
If you don’t want to make your pudding from scratch, you can definitely use the package from the store. But I promise your banana pudding cup is going to taste so much better with homemade! If it’s your first time making pudding, check out my Vanilla Pudding post for lots of tips for success.
If you have the ingredients, homemade whipped cream tastes so much better! But if not, you can use whipped topping from the store. You will need about 3 cups.
Absolutely! Just layer everything in the same order, but in a large bowl instead of cups. It’s best if you use a clear glass bowl so guests can see the beautiful layers.
Cut your bananas right before assembling. When you layer them with pudding and whipped cream, it should protect them from the air and prevent them from turning brown.
More tasty desserts:
- Easy Berry Cheesecake Cups
- Strawberry Shortcake Trifle Cups
- One Bowl Cocoa Brownies
- No Churn Peach Ice Cream
- Monster Skillet Pizookie
- Chocolate Cupcakes with Chocolate Buttercream
HUNGRY FOR MORE? Subscribe to my newsletter and follow along on Pinterest, Facebook, and Instagram for all my latest updates!
Homemade Banana Pudding Cups
Ingredients
PUDDING:
- ½ cup sugar
- 3 tablespoons cornstarch
- pinch of salt
- 2 cups milk
- 1 cup heavy whipping cream
- 4 large egg yolks slightly beaten
- 2 tablespoons butter
- 2 teaspoons vanilla
WHIPPED CREAM:
- 1½ cups heavy whipping cream
- ⅓ cup powdered sugar
- 1 teaspoon vanilla
EXTRAS:
- 1 (11-12 oz) box vanilla Wafers
- 6 bananas, sliced
- 10 (9 oz) clear plastic cups
Instructions
PUDDING:
- In a large saucepan combine the sugar and cornstarch until smooth and has no lumps. Stir in the milk and cream until well combined. Set aside.
- In a medium sized bowl gently beat the eggs until combined. Set aside.
- Place the saucepan of milk and sugar on the stove and cook over medium to medium low heat. While cooking whisk constantly to prevent any lumps. Cook while whisking until it starts to thicken and remove from heat. Pour at least half of this mixture in a steady SMALL stream into the beaten yolks. While you are pouring whisk constantly to prevent your yolks from scrambling. This process is called tempering. Now you may pour the egg mixture back into the saucepan.
- Return this to the heat and cook until it has thickened into a nice pudding like consistency. It will also thicken a little more as it cools. Remove from heat and stir in butter and vanilla. Cover and refrigerate for 1 hour.
WHIPPED CREAM:
- In a large bowl or the bowl of a stand mixer beat the whipping cream, powdered sugar and vanilla until stiff peaks form. Store in the refrigerator until ready to use or make just before serving.
ASSEMBLY:
- Put a small amount of pudding in each cup. Put a layer of vanilla wafers, bananas, and pudding. Repeat 1 more time. Cover and refrigerate for at least 2 hours but best if overnight. Just before serving top with whipped cream. Decorate as desired.
Notes
- For a trifle: This can also be layered into a large trifle bowl instead of individual cups if you prefer.
- Store-bought pudding: If you prefer to use store bought pudding use 1 large box and make according to package directions.
- Store-bought whipped topping: If you prefer to use store bought whipped topping you will need 3 cups of whipped topping.
- Tips for chilling overnight: If you are chilling these overnight I recommend making the whipped cream a little before serving. Freshly whipped cream can sometimes get a little watery if made too far in advance. A few hours in advance is just fine but overnight may not be.


Can you put this recipe in the refrigerator overnight?
So sorry I didn’t get back to you sooner! Yes, these actually taste best if made in advance. Hope you enjoy!
For the banana pudding whip cream. Do you mix the whip CReamand the pudding together
So sorry I didn’t respond sooner!! The whipped cream is to put on top of the pudding cups just before serving.
This was my first attempt at banana pudding of any kind and it was fantastic. Delicious, will definitely make these again.
YAY!! I am so glad you liked them!! Thanks for sharing!
Do you have to put these back in fridge after assembly? Or can I just eat right away?
Hi! Sorry your question didn’t get answered sooner!! You can eat them after assembly if you would like.
Have you tried to freeze these for make-ahead snacks?
No, I haven’t tried freezing these. I’m not sure how they would turn out. Thanks for asking and sorry I couldn’t help!
You don’t say when to add the butter or vanilla. I skipped the butter cuz it already has all that cream in it and added the vanilla when I took it off the heat to chill for the 1 hour. Was that right? I can’t wait to eat this tomorrow!!!
Thank you so much for catching that and yes you did it correctly. Thank you so much and I hope you enjoy!!
Homemade pudding is always the best!!!!!
Yes it is!! Thanks Grandma!