No Bake Vanilla Cheesecake
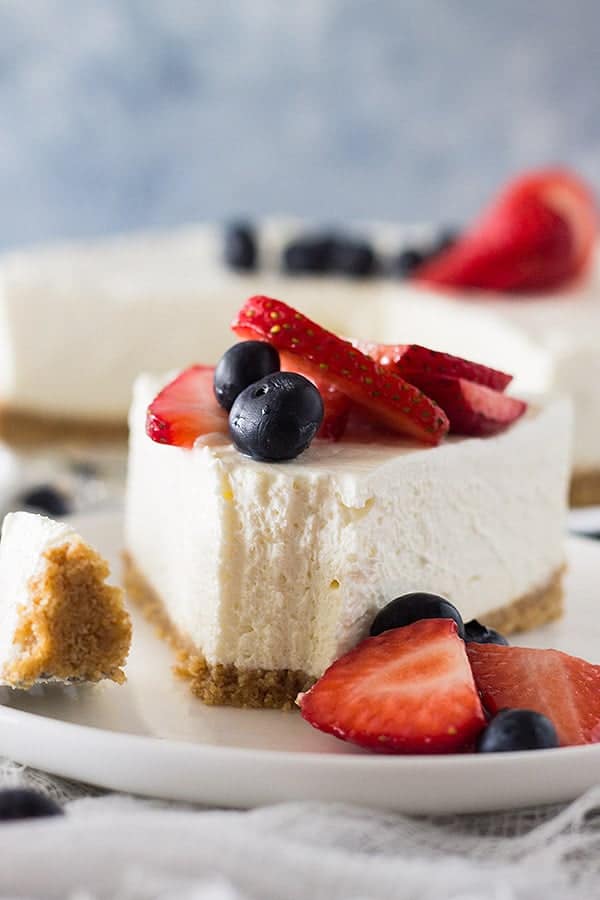
This No Bake Vanilla Cheesecake is decadently smooth and creamy, with a classic graham cracker crust. It’s rich and tangy like a traditional cheesecake, yet airy and light at the same time. The simple vanilla whipped cheesecake base makes it the ideal canvas for any flavor topping!
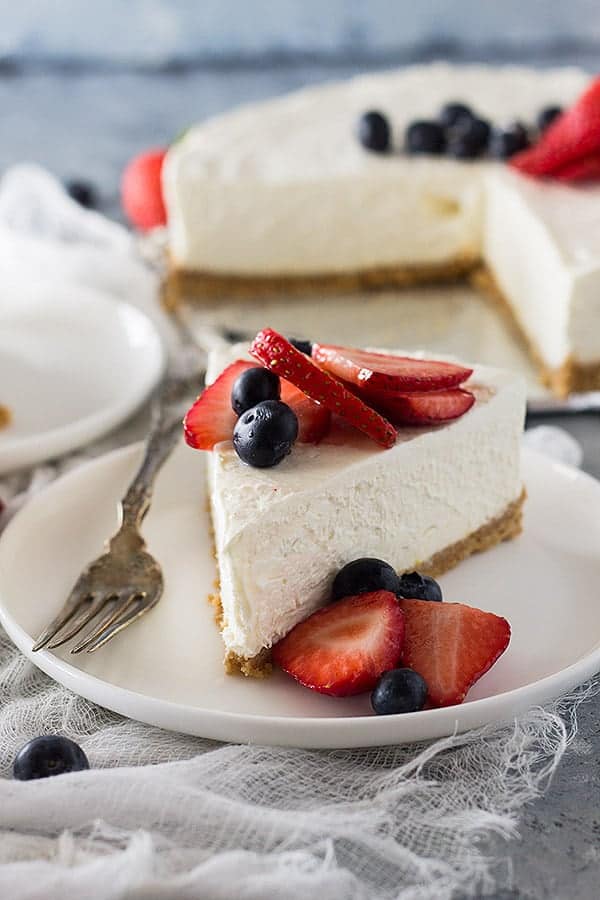
No Bake Vanilla Cheesecake
This no bake vanilla cheesecake is one of the best summer desserts! It’s smooth and creamy like you’d expect, but not overwhelmingly rich. Plus it looks impressive with very little effort, so it’s great for serving guests.
The reason why this dessert isn’t too rich is because it’s actually a whipped cheesecake! You’ll get the whipped effect by using heavy whipping cream along with the cream cheese in the batter. It doesn’t require any baking, of course, just a little patience as it sets in the fridge.
This dessert has the best texture — smooth, silky, and creamy in the middle. Yet instead of being dense and heavy, the whipping cream gives it an airy lift to lighten the whole dessert. It’s the perfect whipped cheesecake recipe!
If you love no bake cheesecakes, check out my other recipes for No Bake Lemon Blueberry Cheesecake, Lime Cheesecake Fluff, or Easy Berry Cheesecake Cups.
Why You’ll Love Whipped Cheesecake
- Easier to make than traditional cheesecake — perfect for beginner bakers!
- Creamy but not too dense
- No gelatin needed, so you won’t get that odd bouncy texture.
- Perfect for parties and get-togethers
What is a No Bake Cheesecake?
It is simply a cheesecake that requires no baking. It has no eggs and no granulated sugar, yet it still has plenty of cream cheese to keep that tangy flavor — just like in this no bake vanilla cheesecake recipe. The filling is a lot softer than a traditional baked cheesecake, which gives it that light and airy texture.
Now, for a little disclaimer: No bake cheesecakes and traditional baked cheesecakes taste different. I just wanted to let you know that they are not the same. But I love them both, and to be honest, I probably like the no bake a little better.
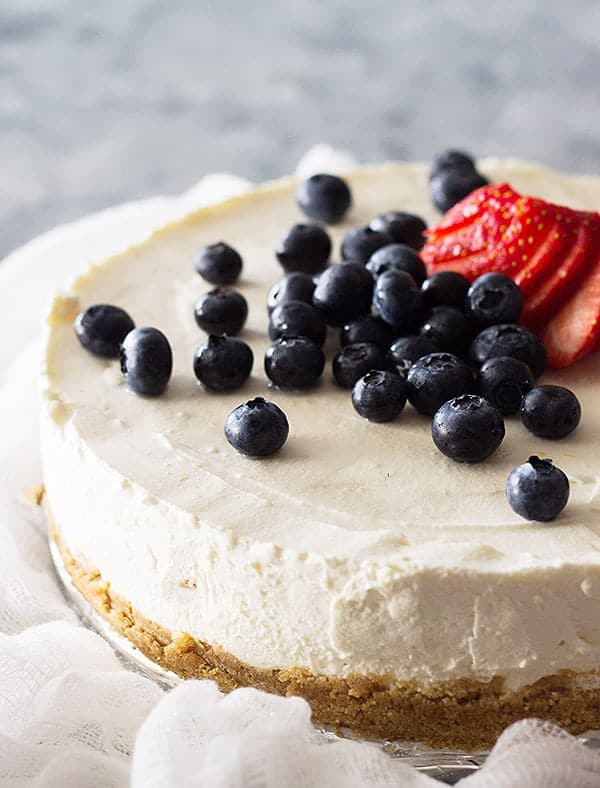
Key Ingredients to Make This Whipped Cheesecake Recipe
- HOMEMADE GRAHAM CRACKER CRUST – This recipe starts with a Homemade Graham Cracker Crust, made with graham crackers, sugar, cinnamon, and butter.
- HEAVY WHIPPING CREAM – To get that whipped consistency that I’ve been talking about! It must be very cold, so don’t take it out of the fridge until you’re ready to use it.
- POWDERED SUGAR – I’m using powdered sugar instead of granulated to make sure that the filling is smooth and not grainy. Granulated sugar won’t dissolve in the cream cheese since the cheesecake isn’t baked. So, powdered sugar can’t be substituted.
- VANILLA – Puts the “vanilla” is vanilla no bake cheesecake! You’ll need 2-3 teaspoons, depending on how strong you want the flavor to be.
- CREAM CHEESE – And it wouldn’t be a cheesecake recipe without some cream cheese! I prefer full-fat options for this whipped cheesecake recipe.
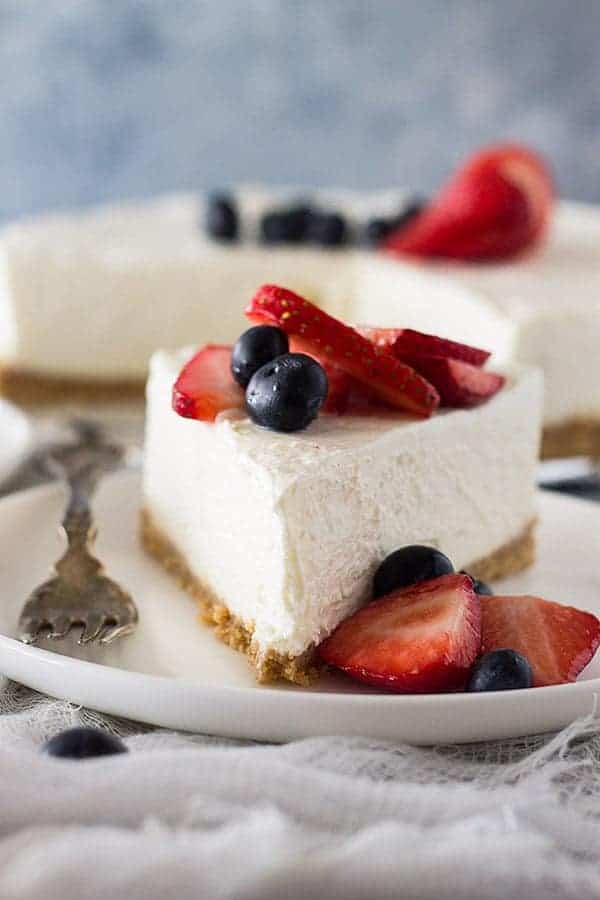
Instructions to Make Vanilla No Bake Cheesecake
WHIP THE CREAM: Beat the heavy whipping cream with the powdered sugar and vanilla. Start with really cold cream and beat it at medium speed to avoid splashing it everywhere. Once it starts to thicken a little, bump the speed to high.
BEAT UNTIL STIFF PEAKS FORM: Keep beating the cream on high until stiff peaks form. You’ll know the peaks are stiff when you pull the beater or beaters out of the whipped cream and the peak holds its shape with a slight curl at the tip. Don’t go much past this, or it will quickly become over-whipped.
BEAT THE CREAM CHEESE: In a separate mixing bowl, beat the cream cheese until smooth. The cream cheese should be ultra-soft to start, or else you won’t get that smooth texture you’re looking for.
FOLD THE MIXTURES TOGETHER: Next, add the whipped cream to the cream cheese and gently fold it with a spatula until just incorporated. Don’t beat in the whipped cream or you will lose all the air that was incorporated to make it light and fluffy.
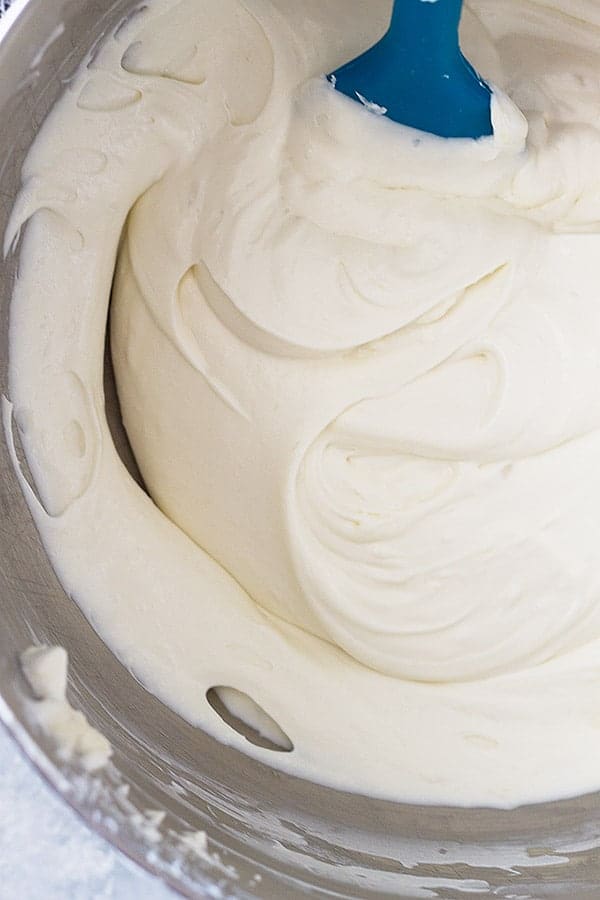
MAKE THE CRUST: Use a food processor to blend the graham crackers into fine crumbs. In a medium bowl, combine the crumbs with the sugar and cinnamon, then stir in the melted butter. Press the crust mixture into the bottom of a 9-inch springform pan, using a flat measuring cup or the bottom of a glass to press the crust down firmly.
SPREAD THE FILLING ON THE CRUST: Now, spread the filling onto the crust. Cover and refrigerate your no bake vanilla cheesecake for at least 4 hours or overnight. I think overnight lets the flavors and texture develop the best!
Tips for Making This No Bake Vanilla Cheesecake Recipe
- Start with very soft cream cheese and cold whipping cream. The cream cheese absolutely must be soft if you want a smooth and silky filling. The cream must be cold to help it whip quickly.
- Use a springform pan. It will make it much easier to serve in nice slices (trust me!), plus it gives it the look of a traditional cheesecake.
- Make sure the crackers are very fine crumbs, then press the crust down firmly with a glass or the bottom of a measuring cup. This will make sure the crust holds together.
- Serve this cheesecake cold. Because it doesn’t have gelatin, it will soften considerably the longer it sits outside the refrigerator. I don’t recommend letting it sit out longer than 1 hour, but 30 minutes would be the best.
FAQ
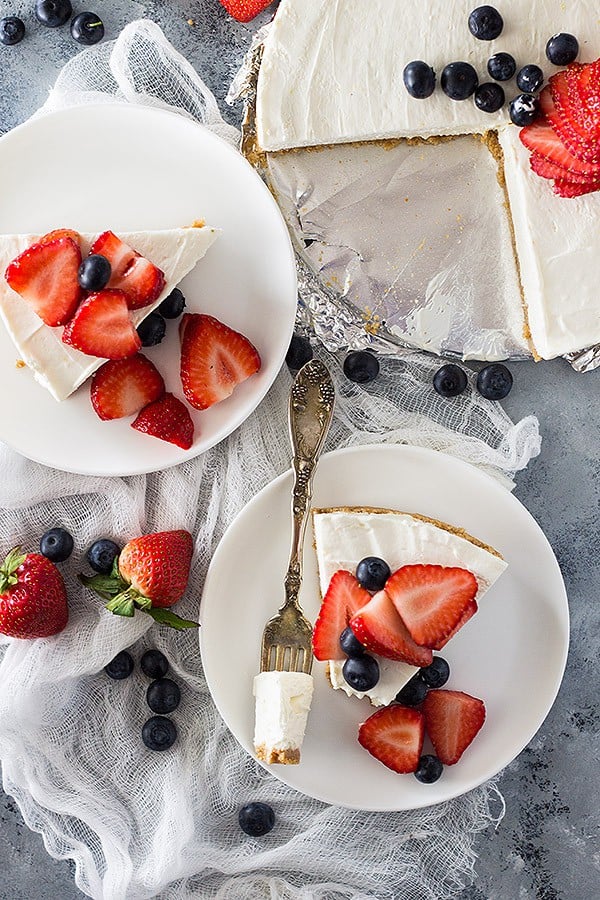
You can use any toppings you like on this no bake vanilla cheesecake! Fresh berries, flavorful jam, chocolate ganache, or caramel sauce would all be delicious. You can also use whipped cream, lemon curd, or Oreo crumbs. The sky’s the limit!
Yes, a no bake cheesecake will last in the fridge for 4-5 days if covered tightly. I suggest making this dessert 1-2 days in advance to keep the crust firm, then storing leftovers for 2-3 more days.
Since this whipped cheesecake recipe does not have gelatin, it shouldn’t be left out for longer than an hour. Ideally, I would leave it out no longer than 30 minutes and serve it cold. Otherwise, the filling will soften considerably.
If you think you need to thicken your no bake whipped cheesecake filling, just pop it in the fridge. The filling is very soft until it firms up in the cold. Let it firm up for at least 4 hours before serving, but ideally overnight.
More Cheesecake Recipes To Try
- No Bake Dark Chocolate Peanut Butter Cheesecake
- No Bake Lemon Blueberry Cheesecake
- Strawberry Cheesecake Fluff
- Lemon Cheesecake Bars
- Frozen Triple Berry Cheesecake
- Easy Berry Cheesecake Cups
Thanks so much for reading! Let me know what you think about this no bake vanilla cheesecake recipe!
HUNGRY FOR MORE? Subscribe to my newsletter and follow along on Pinterest, Facebook, and Instagram for all my latest updates!
No Bake Vanilla Cheesecake
Ingredients
Graham Cracker Crust
- 1½ cups graham cracker crumbs (about ten full sheets)
- ¼ cup sugar
- ¼ teaspoon cinnamon
- 6 tablespoons butter melted
Cheesecake Filling
- 2 cups heavy whipping cream very cold
- 1 cup powdered sugar
- 2-3 teaspoons vanilla
- 2 (8 oz) packages cream cheese (full fat) softened
Instructions
Graham Cracker Crust
- Using a food processor or blender grind the crackers until you have fine crumbs. Otherwise place crackers in a ziploc bag and crush with a rolling pin until you have fine crumbs. It is important to have fine crumbs so the crust holds together well.
- In a medium sized bowl combine the crumbs, sugar and cinnamon. Stir in the butter until well combined. The mixture should be thick, coarse and sandy.
- Press the mixture in one even layer on the bottom of a 9 inch springform pan. Use a flat measuring cup or the bottom of a glass to help compact the crust. This is very important or the crust may fall apart. Cover with plastic wrap and place in the refrigerator to chill while you make the filling.
Cheesecake Filling
- In the bowl of your stand mixer or in a large bowl beat the heavy whipping cream with the powdered sugar and vanilla until stiff peaks form. Set aside. In another large bowl beat the cream cheese until smooth.
- Spoon the whipped cream into the cream cheese and fold in gently just until combined. Spoon into the prepared crust and spread into an even layer. Cover with plastic wrap and refrigerate for at least 4 hours.
- TO SERVE: Run a knife around the perimeter of the pan then unclasp and remove outer ring. Serve with desired toppings.
Notes
- Start with very soft cream cheese and cold whipping cream. The cream cheese absolutely must be soft if you want a smooth and silky filling. The cream must be cold to help it whip quickly.
- Use a springform pan. It will make it much easier to serve into nice slices (trust me!), plus it gives it the look of a traditional cheesecake.
- Make sure the crackers are very fine crumbs, then press the crust down firmly with a glass or the bottom of a measuring cup. This will make sure the crust holds together.
- Serve this cheesecake cold. Because it doesn’t have gelatin, it will soften considerably the longer it sits outside the refrigerator. I don’t recommend letting it sit out longer than 1 hour, but 30 minutes would be the best.

Such an easy way to make cheesecake! Perfect for summer with lemon curd and berries.
Thanks!! And it would be so good with lemon curd and berries!!
Hi Melinda, can I use confectionery sugar instead of powdered sugar?
I am so sorry I didn’t get to your comment sooner!! Yes you can and they are the same thing.
Now you’re talking Malinda!
An easy and tasty no-bake sweet, YES!!
I always bake our cheesecakes and we gobble them up.
Now I can make “M O R E” cheesecakes to enjoy without turning on my oven in this heat.
I’ll give this recipe a try for sure, thanks!
Pinned!
Thank you Dalila!! I hope you enjoy! 🙂
Just a quick update.
I made this cheesecake and your crust twice already.
I really like that bit of cinnamon in the crust and so did hubby.
I let the cheesecake sit overnight in the frig for the next days dessert.
Let me tell you I had a tough time not touching it….LOL….I do LOVE my sweets!
It was a hit with family and friends.
Thank you so much Dalila!!! I too have a hard time leaving it alone! 🙂
Sounds yummy and refreshing
Thanks Aunt Lori! 🙂
I will have to try soon. sounds like a yummy dessert for a hot day, which we have been having a lot of this summer.
Thanks Grandma! 🙂